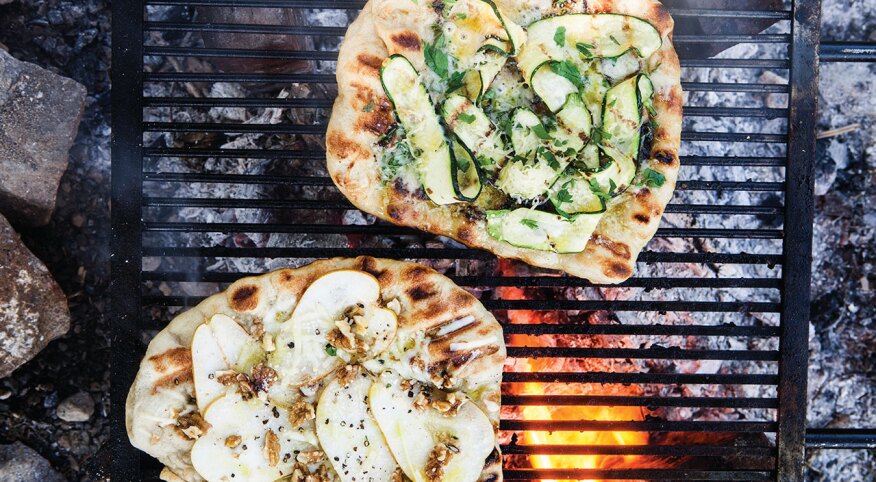
Here’s a little secret from a guy who broke the Guinness World Record for the most pizzas made in an hour: You don’t need a personal backyard pizza oven, or even a pizza stone, to make the best pizza you’ve ever tasted. All you need is a grill.
To appreciate the difference between traditional pizza and grilled pizza, consider how the dough cooks. In traditional pizza ovens, the bottom side of the dough browns on the hot oven floor, while the top side — which is covered with sauce and toppings — bakes but remains soggy and limp. When you grill a pizza on your backyard barbecue, you grill the bottom side of the dough first until it is golden and crispy, then flip it and top the finished side with your sauce, toppings and cheese.
Sure, there’s a learning curve to mastering the crust, but don’t worry: It won’t slip through the grates. Here are your step-by-step instructions.
1. Temper the dough
Remove dough from the freezer or refrigerator and let rise to room temperature (about two hours for frozen dough or an hour for refrigerated dough).
2. Prepare the toppings
The short time it takes to grill the pizza will only heat the toppings. Therefore, all toppings must either be edible raw (e.g., cured meats, olives, etc.) or be precooked (e.g., veggies, chicken, uncooked sausage, etc.).
3. Roll the dough
Sprinkle the backside of your largest sheet pan or cookie sheet with a handful of coarsely ground cornmeal. Roll the dough in the cornmeal, then slather it with olive oil. Use a rolling pin or wine bottle to roll out the dough thinly. If you have a two or four-burner grill, form the dough in a round or rectangular shape. For 3 burner grills, stretch it so that it is twice as long as it is wide.
4. Fire up the grill
Set all the burners on high for approximately 10 minutes with the lid down, or until the internal temperature of the grill is at least 400°F. Transfer the sheet pan with the dough on it, along with your sauce, cheeses, an oven mitt or dish towel, and a long pair of tongs to the grill area.
5. Grill the first side
Reset all burners to medium, open the lid, lift the pan to chin level and in one motion flip the sheet pan, landing the dough directly onto the cooking grate with the sheet pan on top. Leave the pan in place for about 10 seconds. Then slowly lift the pan, allowing gravity to fully release the dough from the pan onto the grate. Immediately close the lid and grill for 3 minutes. Resist peeking.
Use your tongs to check the bottom of the crust. If necessary, continue grilling until the bottom is well marked and well browned (likely 2 more minutes).
6. Flip and top
Use tongs to transfer the crust from the grill back onto the backside of the sheet pan. Flip it to reveal the browned side. Spread the entire surface with the sauce, add your toppings and sprinkle with your chosen cheese.
Reconfigure the heat levels of your burners to high indirect heat. (i.e., turn off the one or two center burners and turn both outside burners to high). Return the pizza to the grate over the unlit section, close the lid and grill for approximately 7 to 10 minutes, or until the bottom is golden brown and crispy and the cheese is bubbling. Remove from the grill and serve immediately.
You may burn through a couple of crusts in your first attempt (shop accordingly), but you will quickly start to understand the principles of grilling dough, and intuitively finesse your way to the pleasing crunch of grilled pizza perfection.

Peden & Munk/Trunk Archive


